GRP Lining Installation Techniques in Abu Dhabi, UAE

Installation Techniques
Installation technique is the most vital part of the GRP Lining, since it ensures perfection in the adhesion of the material to the surface, and the overall performance will depend upon this process. This will involve a step by step process that for effectiveness, must be carried out with accuracy and expertise to bring about the best results.
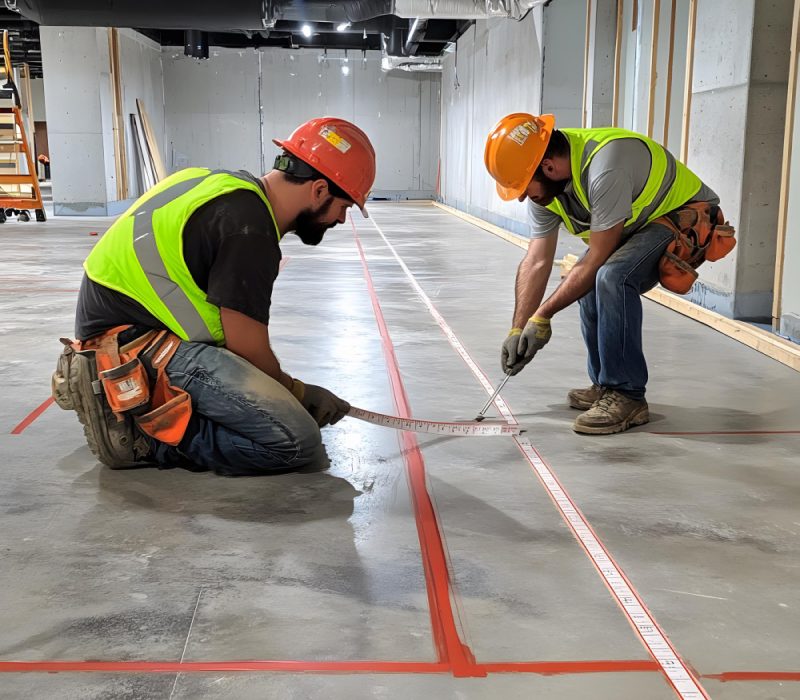
1. Installation Preparation
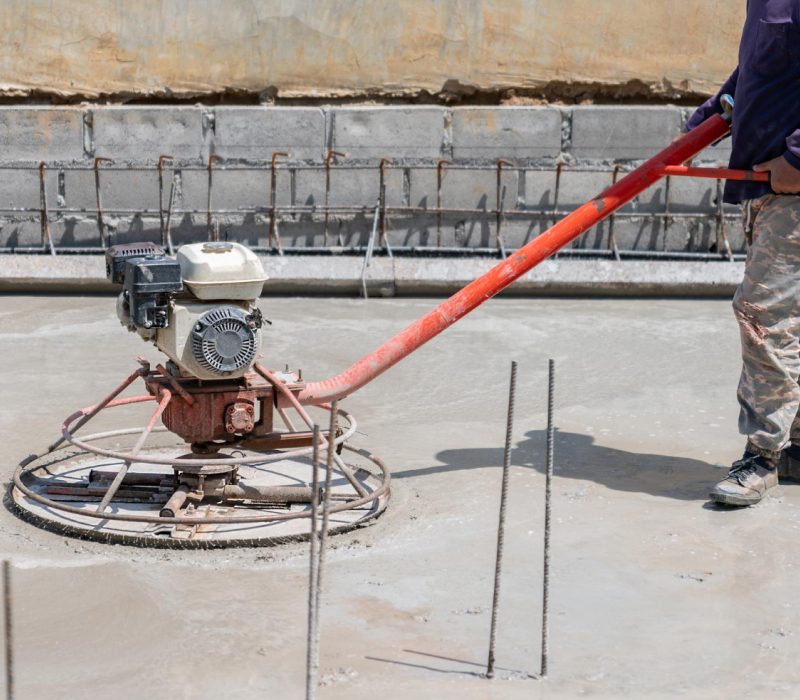
Surface Preparation:
- The surface on which the lining is to take place has to be clean and free of dust, grease, and loosely attached material.
- Surface Roughness: The surface roughness enhances the adhesion of the GRP lining, such as by sandblasting.
- Moisture Content: The surface should be dry because moisture reduces the bonding and can lead to failure.
Environmental Conditions:
- The environment of installation should be free from dust, extreme temperatures, and moisture. There should be a maintained optimum temperature and humidity level to allow the resin to cure appropriately.
- Temperature Control: The installation is best done between 15°C and 30°C.

2. Installation Process:
| Step | Description |
|---|---|
| 1. Resin Preparation | Mix the resin with hardeners and additives according to the manufacturer's instructions. Ensure proper mixing to avoid air bubbles. |
| 2. Application of Primer | A primer coat may be applied to the prepared surface to enhance adhesion. |
| 3. Laying the Glass Fibers | The glass fiber mats are cut to size and laid onto the surface. Overlapping layers are common to ensure uniform thickness. |
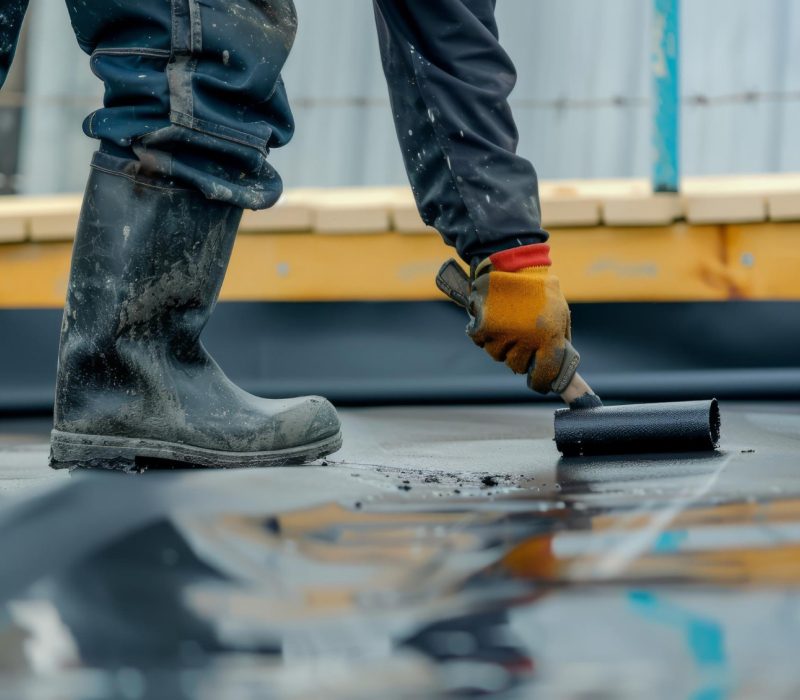
| 4. Resin Application | The mixed resin is applied over the glass fibers using rollers or brushes, ensuring even coverage. |
| 5. Consolidation | Rollers are used to remove any air bubbles and ensure the fibers are fully wetted with resin. This step is critical for the strength and integrity of the lining. |
| 6. Curing | The resin is allowed to cure, either at room temperature or with the assistance of heat. Curing time varies depending on the resin type. |
| 7. Inspection | The installed lining is inspected for defects such as air bubbles, dry spots, or incomplete curing. Any defects are repaired before the lining is put into service. |

3. Key Techniques and Tools:
Application with Roller: Rollers are the primary application and consolidation tool for resin-fiberglass mat. They remove air pockets and ensure an even application.
Vacuum Bagging: Sometimes it is done by a vacuum bagging technique that evenly presses the lining during curing for improved adhesion and surface finish.
curing Agent: curing agents are mixed with the resin to initiate the curing process. The type of hardening agent is determined by the resin type and curing time.
4. Quality Control and Inspection:
Visual Inspection: After curing, the lining must be visually inspected for defects or irregularities in the lining.
Thickness: A thickness gauge is used to check the lining against a specified thickness.
Adhesion Testing: Occasionally, adhesion tests are performed to ascertain bonding strength between GRP lining and substrate.
5. Benefits of Good Installation:
Better Performance: Good installation techniques ensure that GRP lining will perform as expected, first by corrosion resistance, durability, and strength.
Longer Service Life: Good installation practices guarantee long service life for GRP lining.
Cost Efficiency: A lesser number of defects during installation would mean less repair and maintenance, thus lowering the overall costs.
| Resin Type | Cost | Chemical Resistance | Mechanical Strength | Curing Time |
|---|---|---|---|---|
| Polyester Resin | Low | Moderate | Moderate | Fast |
| Vinyl Ester Resin | Moderate | High | High | Moderate |
| Epoxy Resin | High | Very High | Very High | Slow |
Advantages of Proper GRP Installation
| Advantage | Description |
|---|---|
| Enhanced Performance | Ensures the lining functions effectively, resisting corrosion and wear. |
| Extended Lifespan | Properly installed GRP lasts longer, reducing the frequency of replacements. |
| Cost Efficiency | Reduces long-term maintenance costs by preventing early failures. |
FAQ
The GRP Lining installation process typically involves surface preparation, application of a primer, laying down the fiberglass mat, applying the resin, and curing. Each step is crucial for ensuring a strong and durable bond.
The time required for GRP Lining installation depends on the size and complexity of the project. On average, it can take anywhere from a few hours to several days to complete the installation.
Surface preparation is critical for proper adhesion. It usually involves cleaning the surface, removing any rust or debris, and sometimes applying a primer to ensure the resin bonds well with the substrate.
Yes, GRP Lining can be applied to a variety of existing surfaces, including metal, concrete, and wood. Proper surface preparation is essential to ensure a strong bond and long-lasting performance.
Common challenges include ensuring proper adhesion to the substrate, achieving a uniform resin application, and avoiding air bubbles or voids within the laminate. Experienced installers can mitigate these issues to ensure a high-quality finish.
Yes, special equipment such as rollers, brushes, and resin applicators are required to ensure even application and proper curing of the GRP Lining. In some cases, specialized tools may be needed for surface preparation.