Posted in blog, Waterproofing
Balcony Transformation Case Study: From Drab to Fab
Do you usually notice the balconies when you visit somewhere? Now imagine if it’s a beautifully designed and stunning balcony!
We often glance at regular balconies but rarely pay much attention to them. However, if one features a unique design, it can completely transform the look and feel of the entire house.
Here, we explore how often-overlooked balconies can be made more beautiful and longer-lasting. Whether it’s big or small, you can make it cooler.
Table of Contents
The task was not difficult, but it was to transform a forgotten balcony into a comfortable, rainproof, and stylish outdoor living area.
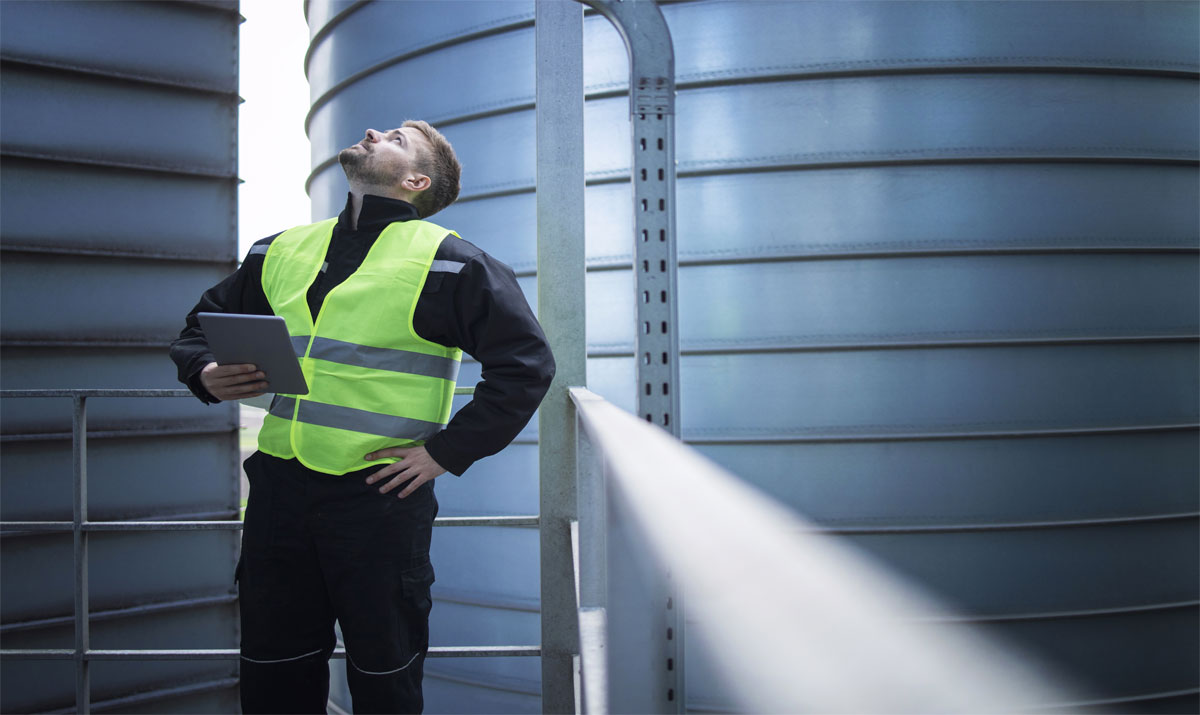
You should pay attention to these points—choosing the right waterproofing and surface protection will ensure that the area remains undamaged for years and help preserve its beauty.
It not only transforms visually but also makes the item much more comfortable, durable, and usable.
- Introduction: Why Balcony Transformations Matter
- Project Overview: The Balcony Before Renovation
- Challenges: What Went Wrong with the Old Design
- Design Planning: Setting the Vision
- Choosing the Right Materials
- Step-by-Step Process to Transform Your Balcony
- New Balcony Feature Highlights
- Results: A Complete Outdoor Makeover
- Expert Tips for Your Own Balcony Renovation
- FAQs on Balcony Transformations
- Conclusion
Introduction: Why Balcony Transformations Matter
In many urban areas today, we can see that homes and buildings have fewer open spaces. For those who don’t get much time to go out for a walk or relax, balconies are a great help. They provide an opportunity to breathe fresh air and calm the mind. When designed beautifully and creatively, they can also boost creativity and self-confidence.Key Benefits of Balcony Renovation:
- Expands your living area
- Enhances the beauty and resale value of property.
- Offers individual relaxation space.
- Provides weather protection cover.
Project Overview: The Balcony Before Renovation
The balcony of this case study was an unused area that was bare, old, and dull. The tiles were dilapidated, there was water infiltration, and the whole place was not very appealing.| Aspect | Before Renovation |
|---|---|
| Floor Condition | Cracked, uneven surface |
| Aesthetic Appeal | Dull and outdated |
| Usage | Storage area only |
| Waterproofing | Poor, caused seepage issues |
| Comfort | Minimal furniture, no ambiance |
Challenges: What Went Wrong with the Old Design
It is important to determine the problems before any renovation takes place. The key problems in this project were the fact that it was planned improperly and the materials were of low quality.Common Balcony Problems Identified:
- Water Leakage: The waterproofing layer and drainage slope are not good.
- Cracked Flooring: result of exposure to extreme heat and moisture.
- Faded Paint and Rust: The metal furniture placed outdoors began to rust quickly due to lack of use, losing both its strength and aesthetic appeal.
- Lack of Practicality: With no shade, seating, or decorative elements, the balcony was not a comfortable or functional space to use.
Design Planning: Setting the Vision
The balcony is well designed, comfortable, functional, and weatherproof. The design stage was oriented towards designing a multi-use outdoor lounge, which could be used during relaxation, light gardening, and socialization.Design Objectives:
- Bring a fresh, Spartan theme.
- Make sure it is waterproofed.
- Include furniture that can be exposed to the outside.
- Add mood lighting during the evenings.
Choosing the Right Materials
The success of any transformation of the balcony depends on the choice of materials. The performance and the lifespan of the product can be dramatically improved with durability and maintenance-friendly options.Recommended Balcony Materials:
| Component | Material Used | Why It Works |
|---|---|---|
| Flooring | Non-slip, waterproof membrane tiles | Prevent leaks and ensure safety |
| Railing | Powder-coated aluminum | Rust-resistant and lightweight |
| Furniture | Synthetic rattan & treated wood | Weatherproof and stylish |
| Lighting | LED strips & solar lamps | Energy-efficient and low-maintenance |
| Planters | Fiberglass & terracotta | Aesthetic and durable |
Step-by-Step Process to Transform Your Balcony
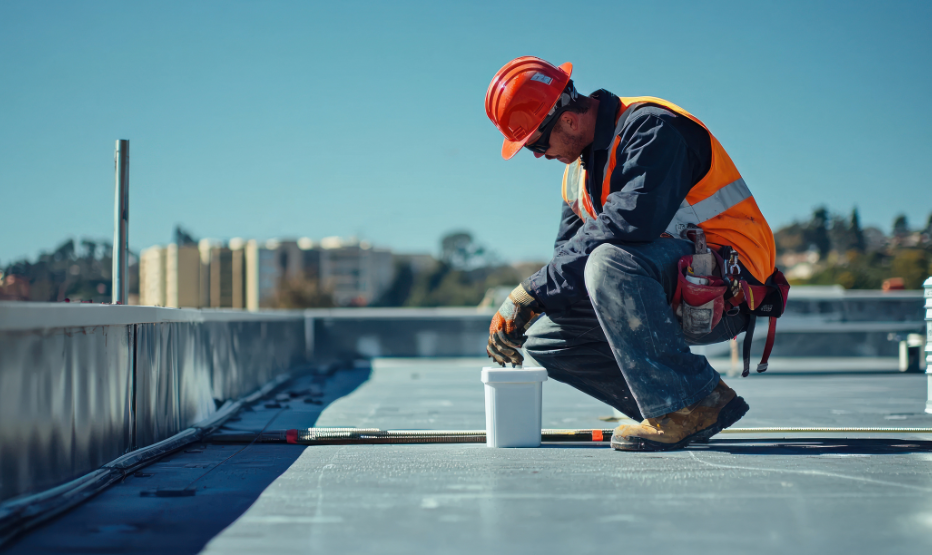
There are many steps to consider when transforming a balcony. Each of the steps is important to follow to avoid future damage or waste of materials in your home or building. Process Steps:- Site Inspection and Measurement: Noted surface damages and drainage issues. Surface Preparation: Removed old tiles, cleaned the base surface, and leveled the surface.
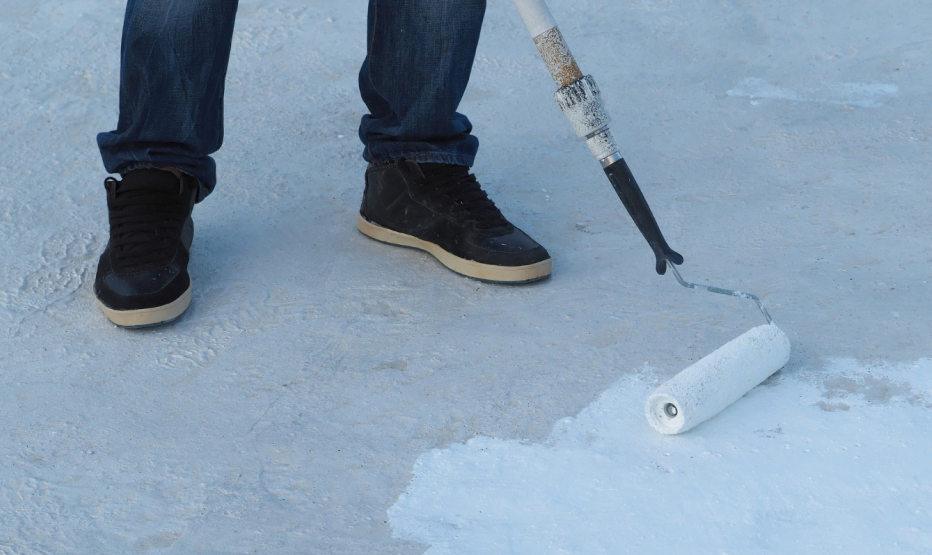
- Application of Waterproofing: Installed a high-quality SBS membrane that would ensure complete protection.
- Tiling and Finishing: Used anti-slipping tiles and effectively sealed the joints.
- Furniture and Decoration: Added seating, lighting, greenery, and décor to enhance the space.
- Final Steps: Primed and painted the space to make it last and to enhance the space’s aesthetics.
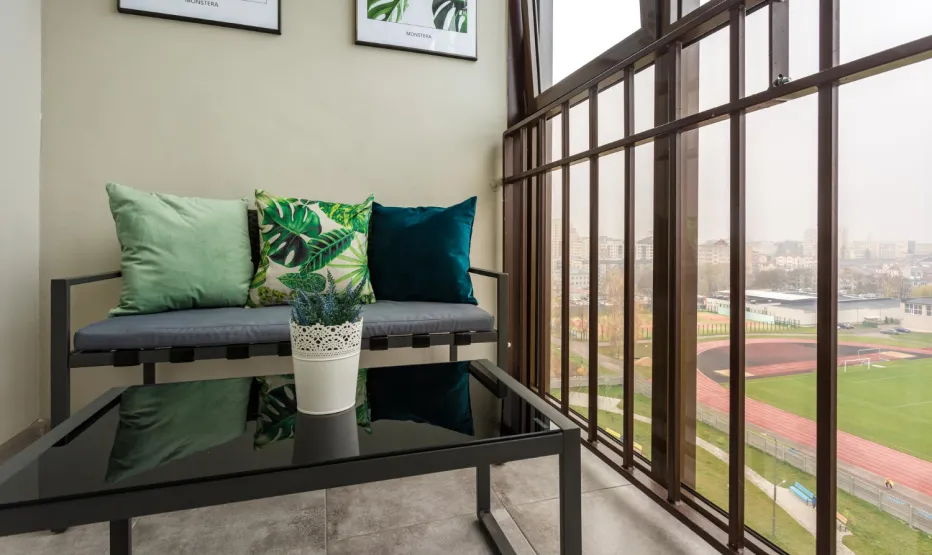
New Balcony Feature Highlights
Overall, the final product was a full transformation—a beautiful, comfortable, and truly long-lasting space.Feature Highlights
- Waterproof Flooring: No leaking or water seepage during even heavy rain.
- Lighting (Ambient Lights): Large soft LED effects created a nice, pleasant, and relaxing space to enjoy through the night into the evenings.
- Seating: Comfortable, weather-resistant furniture with a weatherproof rating. Mini
- Green Zone: A very few small plants to add some freshness, and absolutely beautiful.
- Smart Space Utilization: Foldable fixed furniture helps save and maximize space.
Results: A Complete Outdoor Makeover
Once it was done, the results were self-explanatory. The balcony was lively, worked well, and became one of the most desirable areas in the house.| Before | After |
|---|---|
| Dull and unused | Inviting outdoor lounge |
| Cracked tiles | Smooth, waterproof flooring |
| Poor lighting | Ambient, energy-efficient lighting |
| Uncomfortable seating | Modern weather-resistant furniture |
| Water leakage | Full waterproofing protection |
Expert Tips for Your Own Balcony Renovation
Should you be considering your own outdoor transformation, however, some tips can be put to practical use to attain professional results. Renovation Tips:- First off, Seal (waterproofing): Get it before it gets you.
- Select Outdoor Grade Materials: Invest in weatherproof items so they last longer.
- Plan Your Lighting Early: Tuck in wiring when it’s neat and select simple, efficient lighting.
- Smart Space: Select small, foldable furniture.
- Add Greenery: Greenery turns a balcony dynamic and relaxing.
Conclusion
We hope you’ve got a clear idea about the key points. If you wish to build or renovate a beautiful, long-lasting, and high-quality balcony like this, or want to learn more about it, feel free to reach out to us. Click here to know waterproofing methods.FAQ
It varies according to the figure and condition, though an average of 7-15 days is observed in a complete makeover.
The best tiles or membrane systems include non-slip and waterproof tiles because of their heat resistance and durability.
The seepage and cracking are prevented with a professional-grade waterproofing layer, preferably SBS or PU-based.